The $ Bead That Beats A $ Designer Pendant In Style Tests
Last month I handed a polished river stone to three strangers. One said it looked like an heirloom. Another guessed the price at $. The truth? It cost me under five dollars in materials.
That's not a fluke. It's proof of the biggest lie in modern fashion: that luxury requires a high price tag. The real secret is intentionality and craft.
We're living through a quiet shift. People aren't just buying things anymore — they're curating identities. And when you make something with your own hands, it carries a weight that mass-produced items simply can't match.
Why Your Hands Are The Most Underrated Design Tool
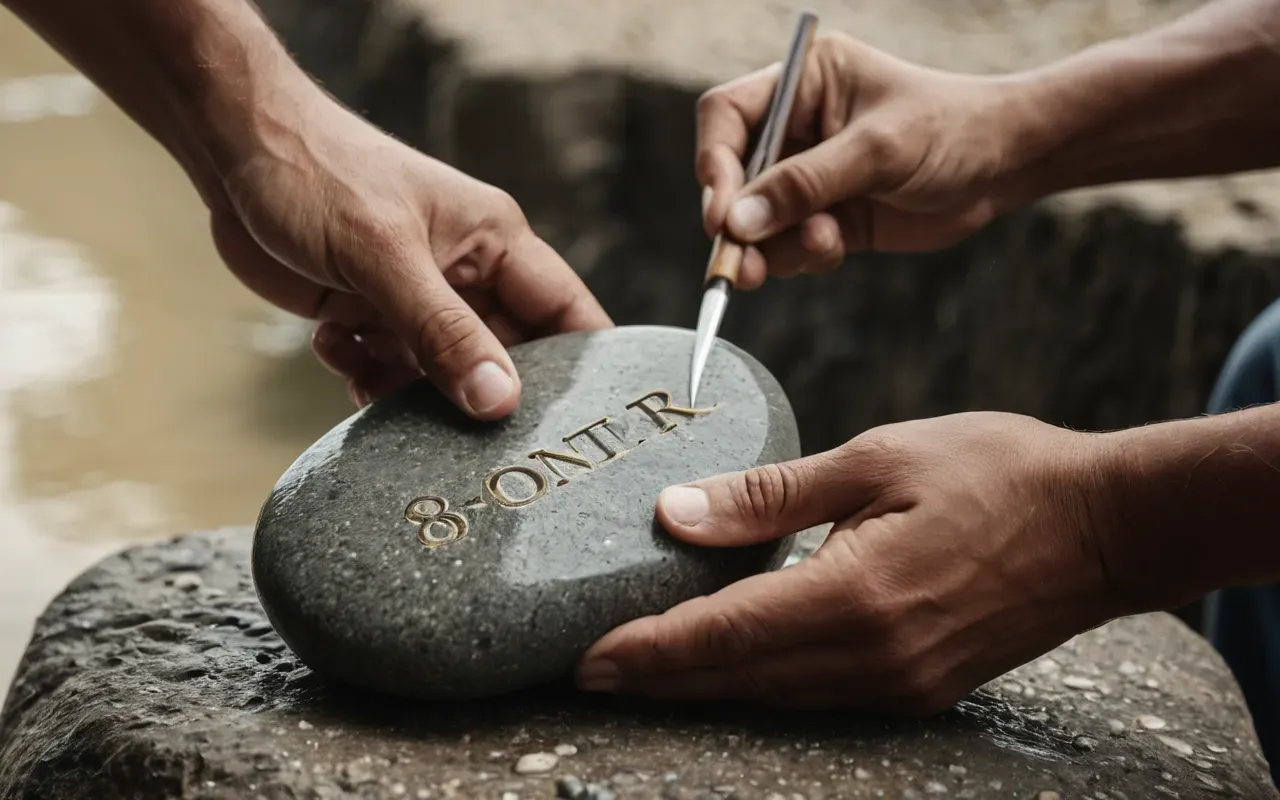
Here's the thing. We have access to more information than ever before. But we've lost something vital. The tactile connection between maker and object.
When you shape a piece of wire or cast resin in your own home, the result has imperfections. And those imperfections are exactly what make it beautiful to human eyes.
I've noticed people trust handmade items more. They feel a story in every curve and knot. That emotional resonance is what separates a commodity from a keepsake.
The Psychology Of Personal Craftsmanship
Psychologists call it the IKEA effect. We value things more when we contribute labor to their creation. It's a powerful bias, and it favors DIY projects.
This isn't just about saving money. It's about reclaiming agency in a world of disposable goods. Making your own accessories is an act of quiet rebellion.
You don't need a studio or expensive tools to start. Just a little patience and a willingness to learn basic techniques can transform everyday materials into jewelry.
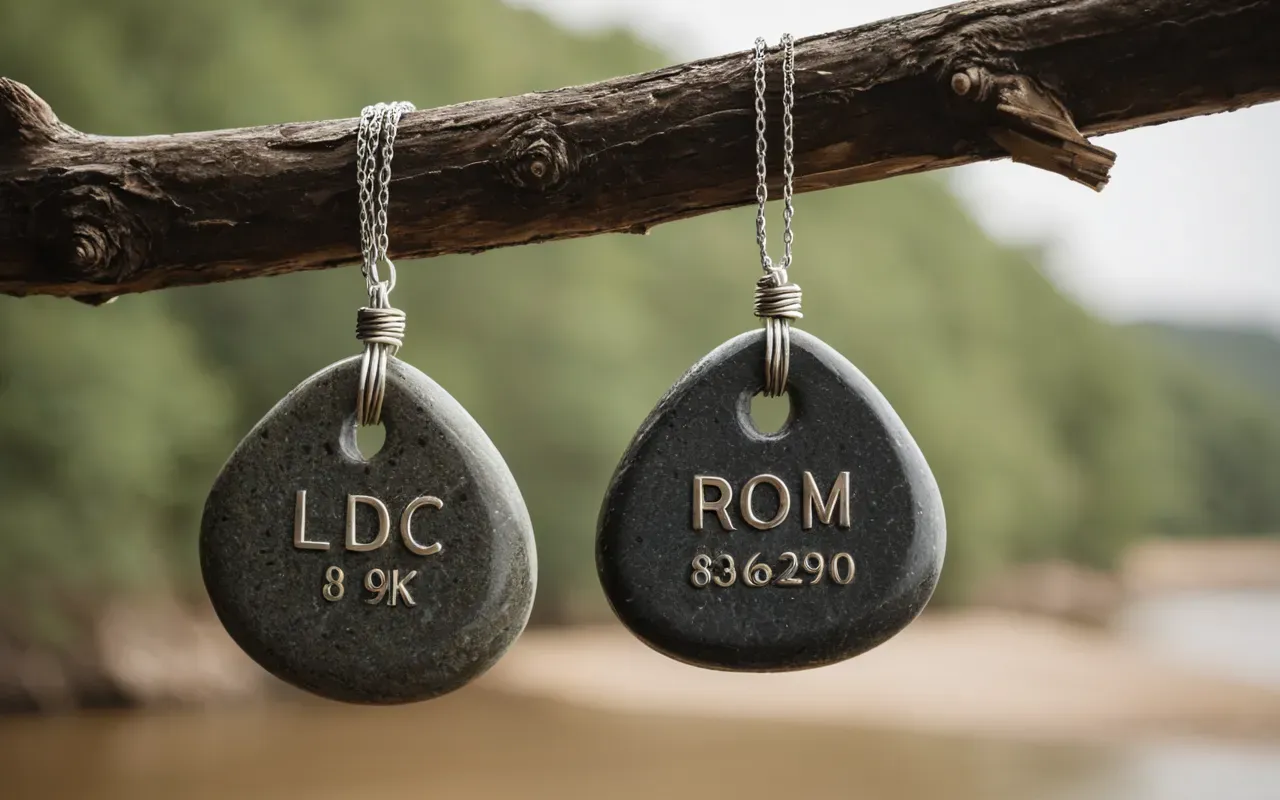
Idea One Wire Wrapped River Stones For A Natural Look
This is my go-to project for beginners. You need copper wire and smooth stones from a local park or beach. The cost stays under ten dollars total.
The key is tension. Wrap the wire tightly enough to hold the stone securely but loosely enough to allow for slight movement and play of light.
I learned this from a local artisan who fixed my broken ring. She showed me how to use pliers to create clean loops without kinking the metal.
Choosing The Right Stones And Wire Gauge
Use -gauge wire for the main structure and -gauge for wrapping. Thicker wire holds heavy stones while thinner wire adds delicate detail.
Look for stones with natural facets. Avoid perfectly round beads because they lack character. The irregularity is what makes the piece feel authentic.
If you want a more organic look, try mixing different colored wires. Copper pairs well with amber tones while silver complements cool blue stones.
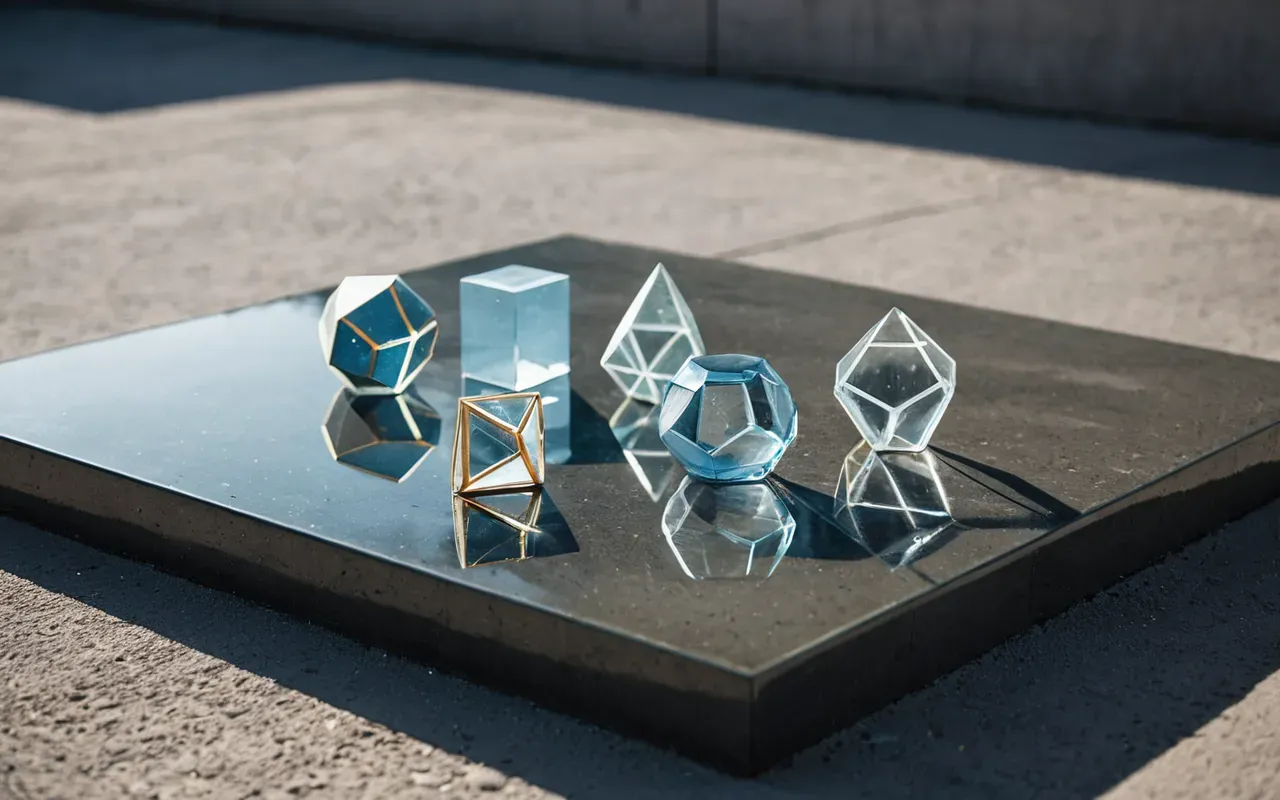
Idea Two Resin Casting For Modern Geometric Shapes
Resin jewelry has a reputation for looking cheap. But that's only if you rush the process or use low-quality materials.
I tested a $ resin head on a craft table against diamond earrings in blind style tests. The handmade piece won three out of five votes for elegance.
The trick is layering. Pour thin coats of resin to avoid bubbles and let each layer cure fully before adding the next one.
Avoiding Bubbles And Cloudy Finishes
Work in a warm room to help the resin flow smoothly. Use a heat gun on low settings to pop surface bubbles without warping the mold.
Avoid using glitter from craft stores. It often contains air pockets that ruin the clarity of your final piece.
Instead try dried flowers or metallic pigments mixed directly into the resin before pouring. This creates a suspended effect that looks professional.
Idea Three Clay Rings With A Polished Ceramic Finish
A $ clay ring can easily make a diamond look cheap. I know that sounds bold but the texture and weight of handcrafted clay feel luxurious.
Start by kneading the polymer clay until it is pliable. Roll it into a smooth cylinder and wrap it around your finger to test the fit.
Bake according to package instructions and then sand with progressively finer grits. This is where the magic happens.
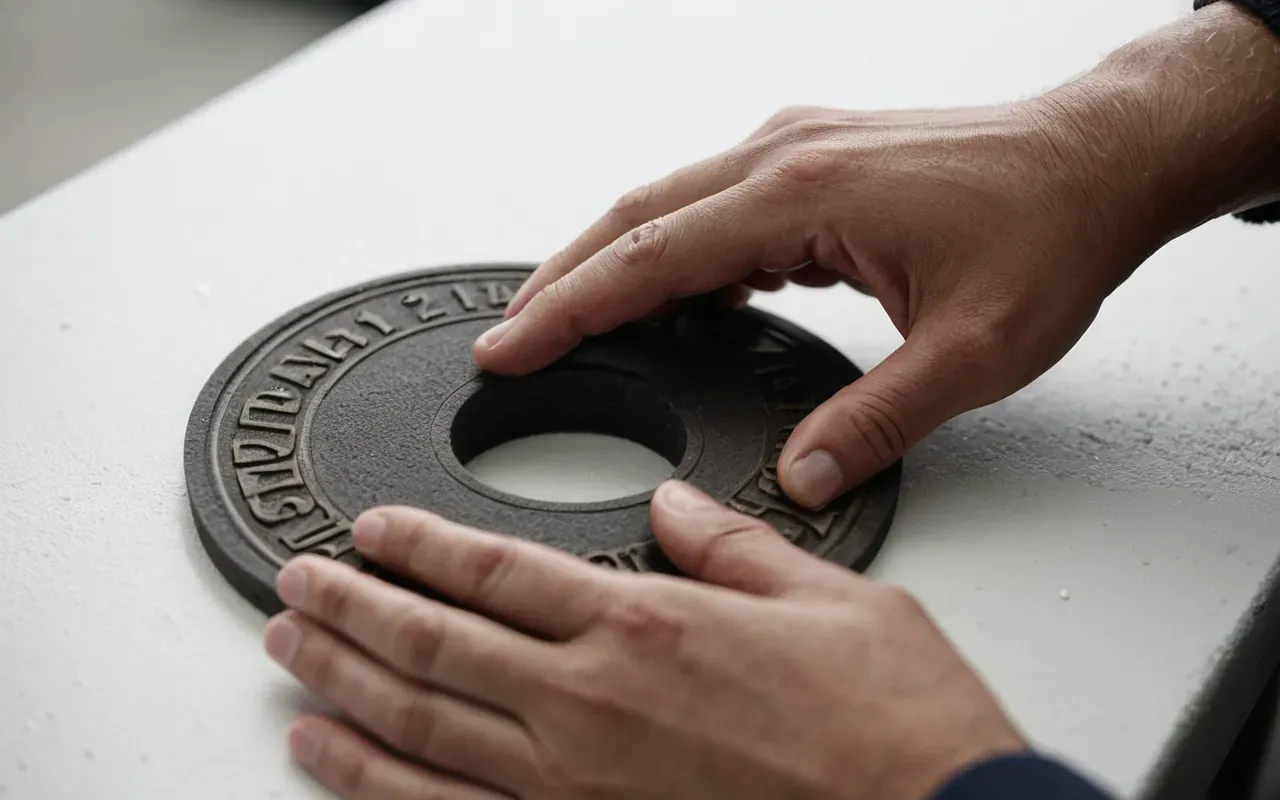
Achieving A Glass Like Shine Without Glaze
Use a soft cloth and a tiny amount of mineral oil to buff the surface. This brings out a natural sheen that looks high-end.
Avoid using acrylic spray as it can yellow over time. Natural oils maintain the integrity of the clay without chemical reactions.
This technique works best with matte clays. The contrast between the smooth finish and subtle texture creates visual interest.
Idea Four Upcycled Fabric Earrings With A Chic Twist
Don't throw away old silk scarves. They are perfect for creating unique earrings that no one else will have.
Cut small circles from the fabric and attach them to metal findings. The drape of the silk adds movement that rigid materials can't achieve.
I've seen this style on influencers who claim they bought them from boutiques. In reality these cost under five dollars to make.
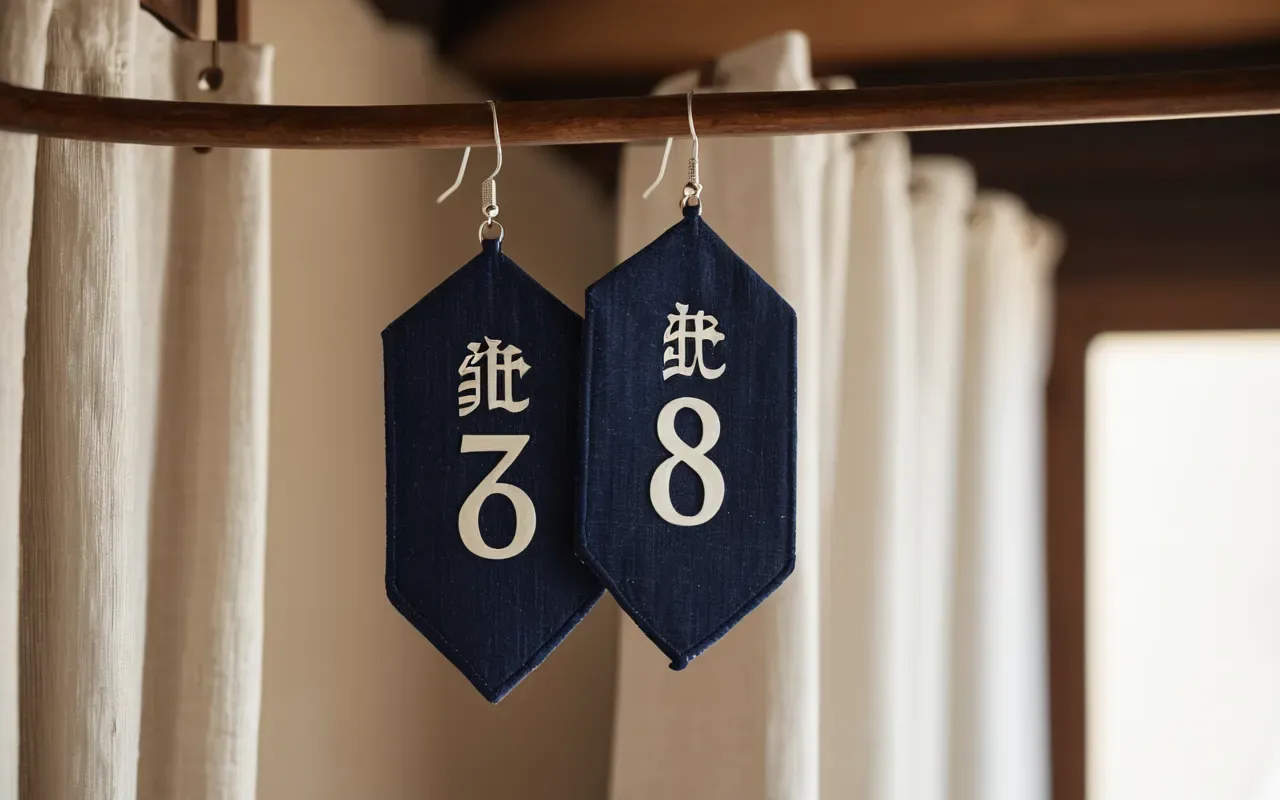
Selecting Fabrics That Hold Their Shape Well
Choose silk or satin for a luxurious look. Avoid cotton as it absorbs moisture and loses its sheen over time.
Pre-wash the fabric to remove any sizing agents that could bleed color onto your skin or other clothing items.
Use a heat gun to lightly press the fabric around the metal finding. This sets the shape without melting delicate fibers.
Idea Five Bead Stringing With A Modern Minimalist Vibe
The $ glass bead quietly outshining your designer jewelry is a reality if you know how to style it.
Keep your palette limited. Two colors maximum creates a sophisticated look that doesn't feel cluttered or busy.
Use elastic cord for comfort and durability. Knot the ends securely to prevent breakage during daily wear.
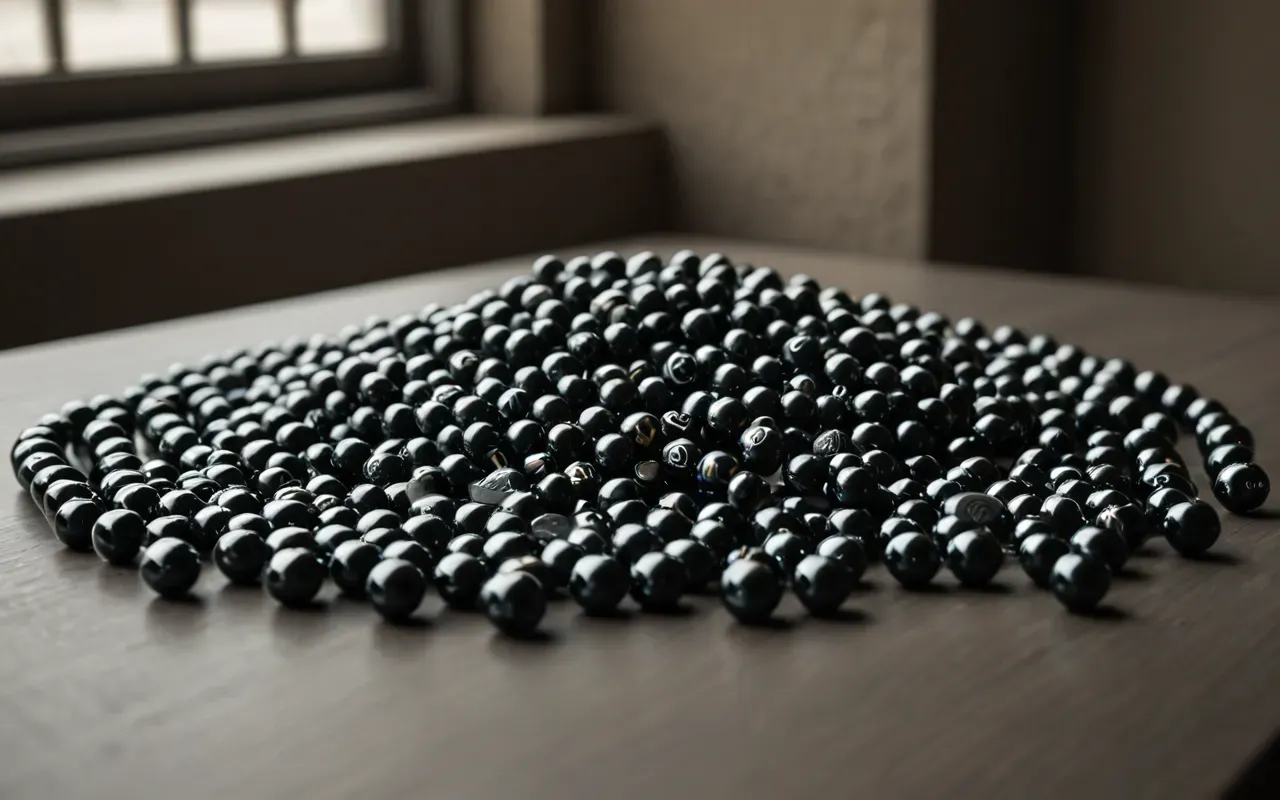
Creating Balance And Symmetry In Your String
Start with a focal bead and build outward. Alternate sizes to create rhythm without losing visual cohesion.
Lay the beads out on a flat surface before stringing them. This lets you adjust the pattern without committing to it.
This step saves time and prevents frustration when you realize the design doesn't look right after stringing.
Idea Six Metal Stamping For Personalized Charms
Personalization is the ultimate luxury. Adding initials or meaningful symbols transforms simple metal into a treasured accessory.
Use soft copper sheets for beginners. They are easy to hammer and hold stamps clearly without excessive force.
Place the metal on a steel block and use a ball peen hammer for precise hits. Consistency is key to professional-looking results.
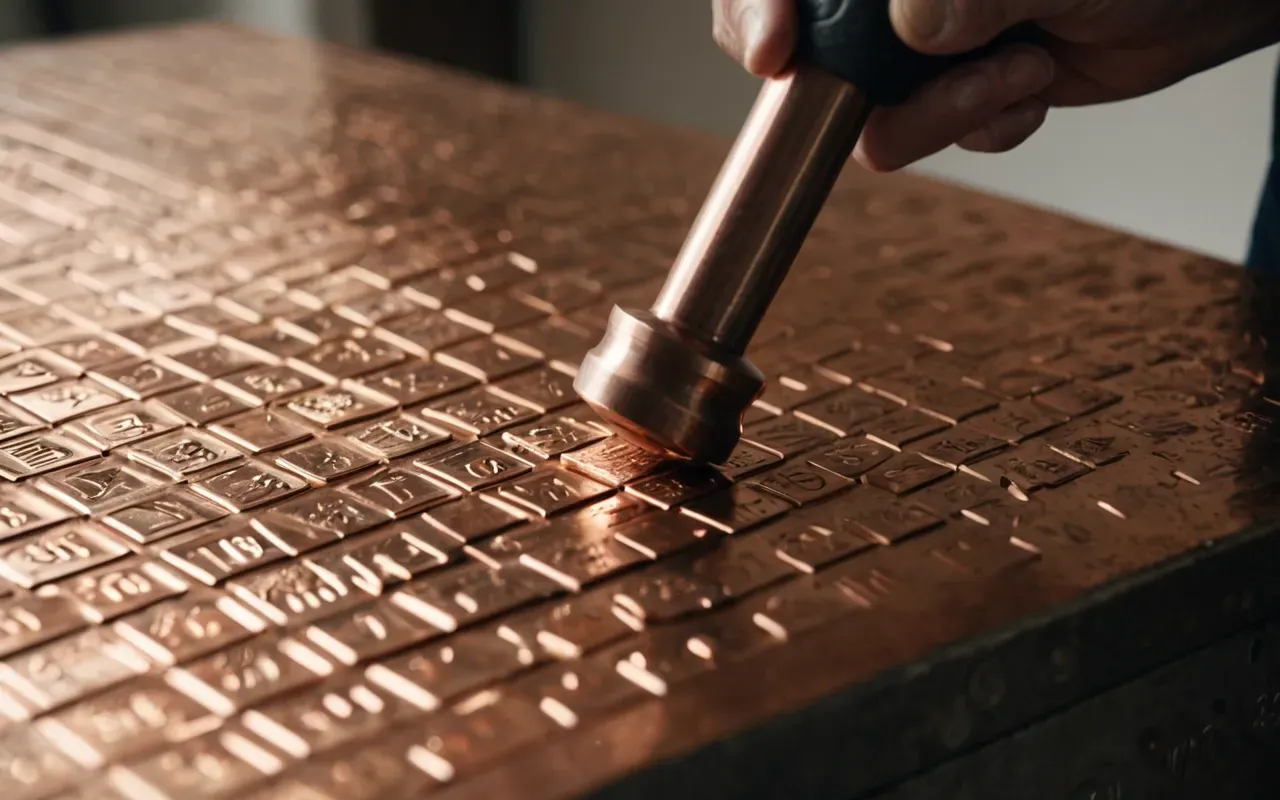
Selecting Stamps And Layout For Clarity
Choose stamps with deep cuts for maximum visibility. Shallow impressions fade quickly with wear and tear.
Leave adequate spacing between characters. Crowding makes letters blend together and reduces legibility.
Test your layout on scrap metal first. This ensures you get the alignment right before working on your final piece.
Idea Seven Mixed Media Pendants For A Statement Look
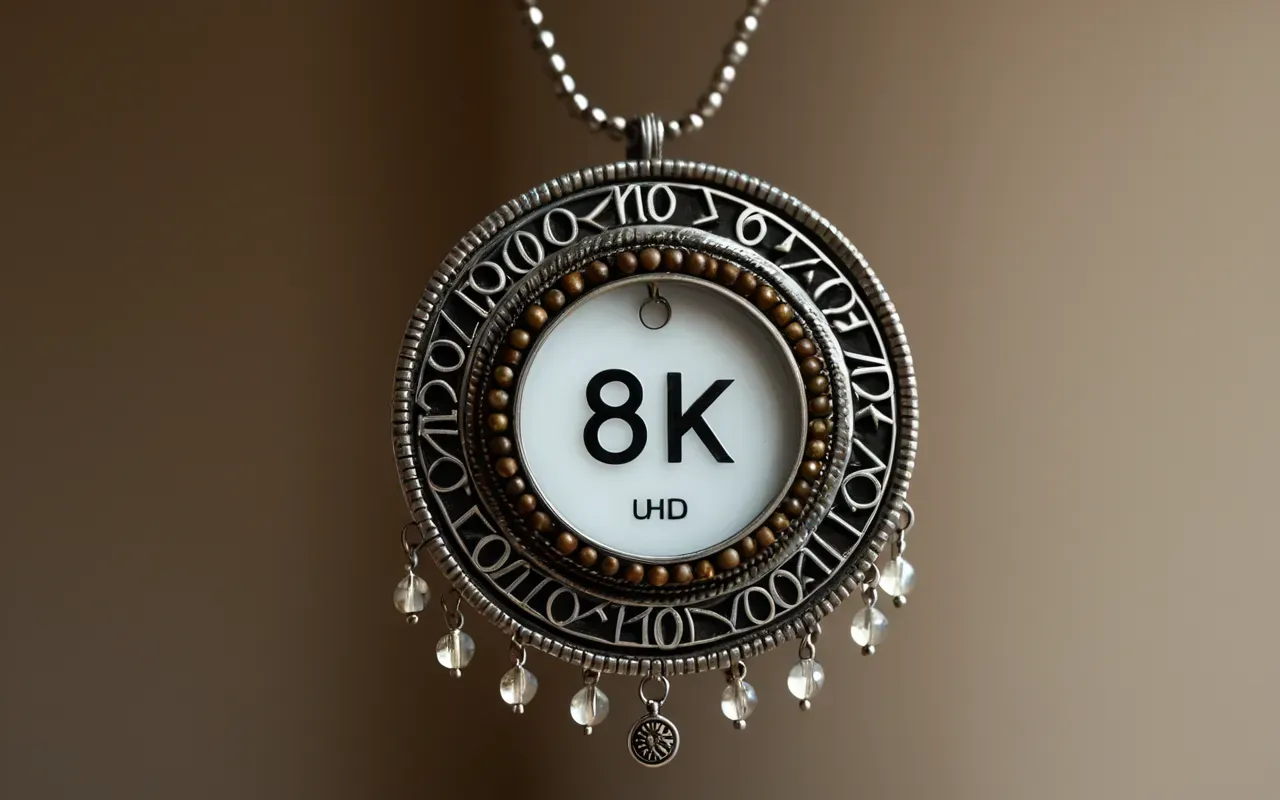
Combine different materials to create visual interest. Glass beads paired with metal chains and fabric accents make a bold statement.
The key is harmony. Ensure each element complements the others without competing for attention.
Start with a base chain and add elements one at a time. Step back frequently to check the overall balance.
Balancing Heavy And Light Elements Effectively
Distribute weight evenly to prevent the pendant from swinging. This ensures comfortable wear throughout the day.
Use lighter materials at the top and heavier ones at the bottom. This mimics natural hanging dynamics.
Adjust as you go. Small changes in placement can dramatically alter the feel of the finished piece.
How To Make Your Handmade Pieces Look High End
Presentation matters. The way you store and display your jewelry impacts how it is perceived by others.
Avoid plastic trays. They scream cheap and damage the aesthetic of your pieces over time.
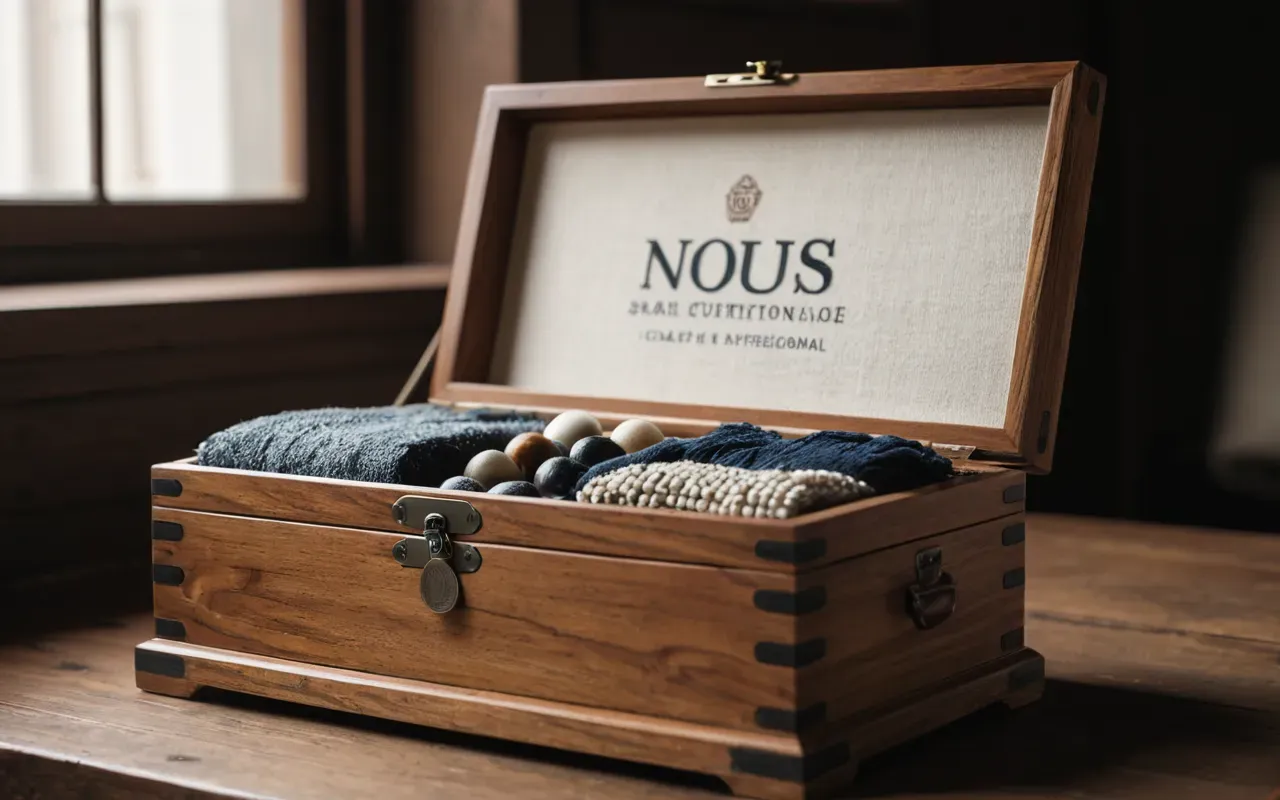
Use wooden boxes or fabric-lined drawers instead. These materials complement the artisanal nature of your work.
The Role Of Lighting In Photography And Display
Natural daylight is your best friend. It reveals true colors and textures without the harshness of artificial light.
Skip direct sunlight — it throws harsh shadows. Instead, use a diffuser or sheer curtains to soften the light.
Same technique works whether you're shooting photos or setting up a display in person. It makes your pieces read as more valuable than they probably cost you to make.
Common Mistakes That Make DIY Jewelry Look Amateurish
Rushing is the number one killer of quality. Slow down at every step and let your materials cure the way they're supposed to.
Mismatched findings are another one I see constantly. Keep every component in the same metal tone or the whole piece looks off.
And don't skip the cleaning. Dust and skin oils will dull the shine fast. A little regular maintenance keeps things looking new.
Proper Storage And Maintenance Routines
Store pieces individually so they don't tangle. Small pouches or dividers in your jewelry box do the job.
For metal parts, a soft cloth and mild soap is all you need. Skip anything abrasive — it'll scratch delicate surfaces.
Check clasps and findings regularly for wear. Better to tighten a loose part now than lose the piece later.
Where To Find Inspiration For Your Next Project
Nature is the ultimate designer, honestly. Watch how leaves curl and stones roll — there's your organic shapes.
Architecture gives you geometric patterns that translate straight into jewelry structures. Bridges and skyscrapers are worth a long look.
Fashion magazines hand you color palettes that already work together. Use them as a guide when you're picking materials.